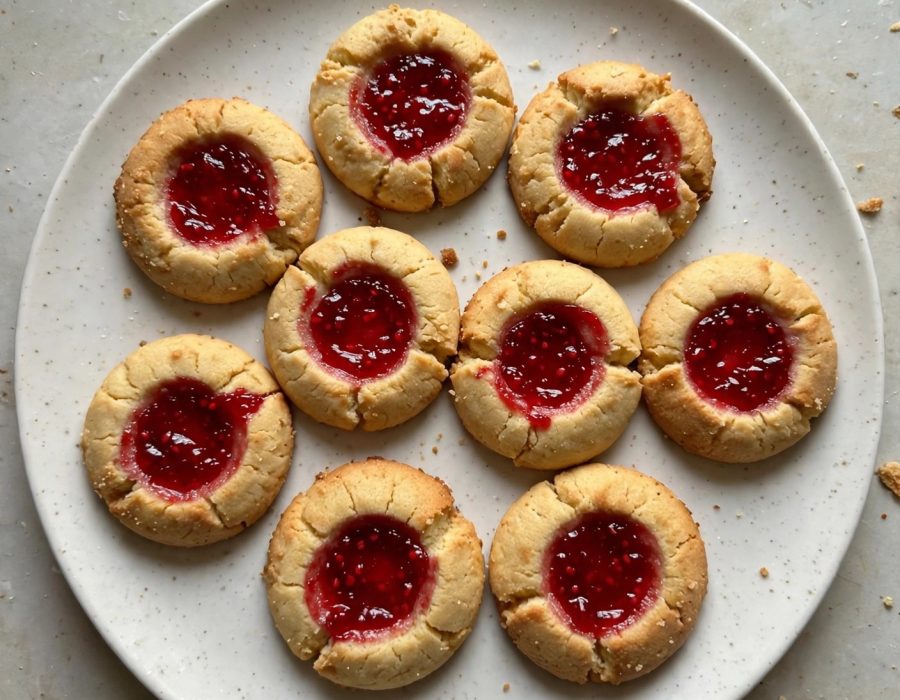
These were the cookies the grandchildren were actually allowed to help with — beyond licking the spoon, that is. Grandma rolled the dough, we rolled the balls in the chopped walnuts, and then came the important part: thirty little thumbs, pressed one by one into the centers, making the wells that would hold the jam. A cookie that needs your thumbprint to exist is a cookie that was always meant to be made by a crowd.
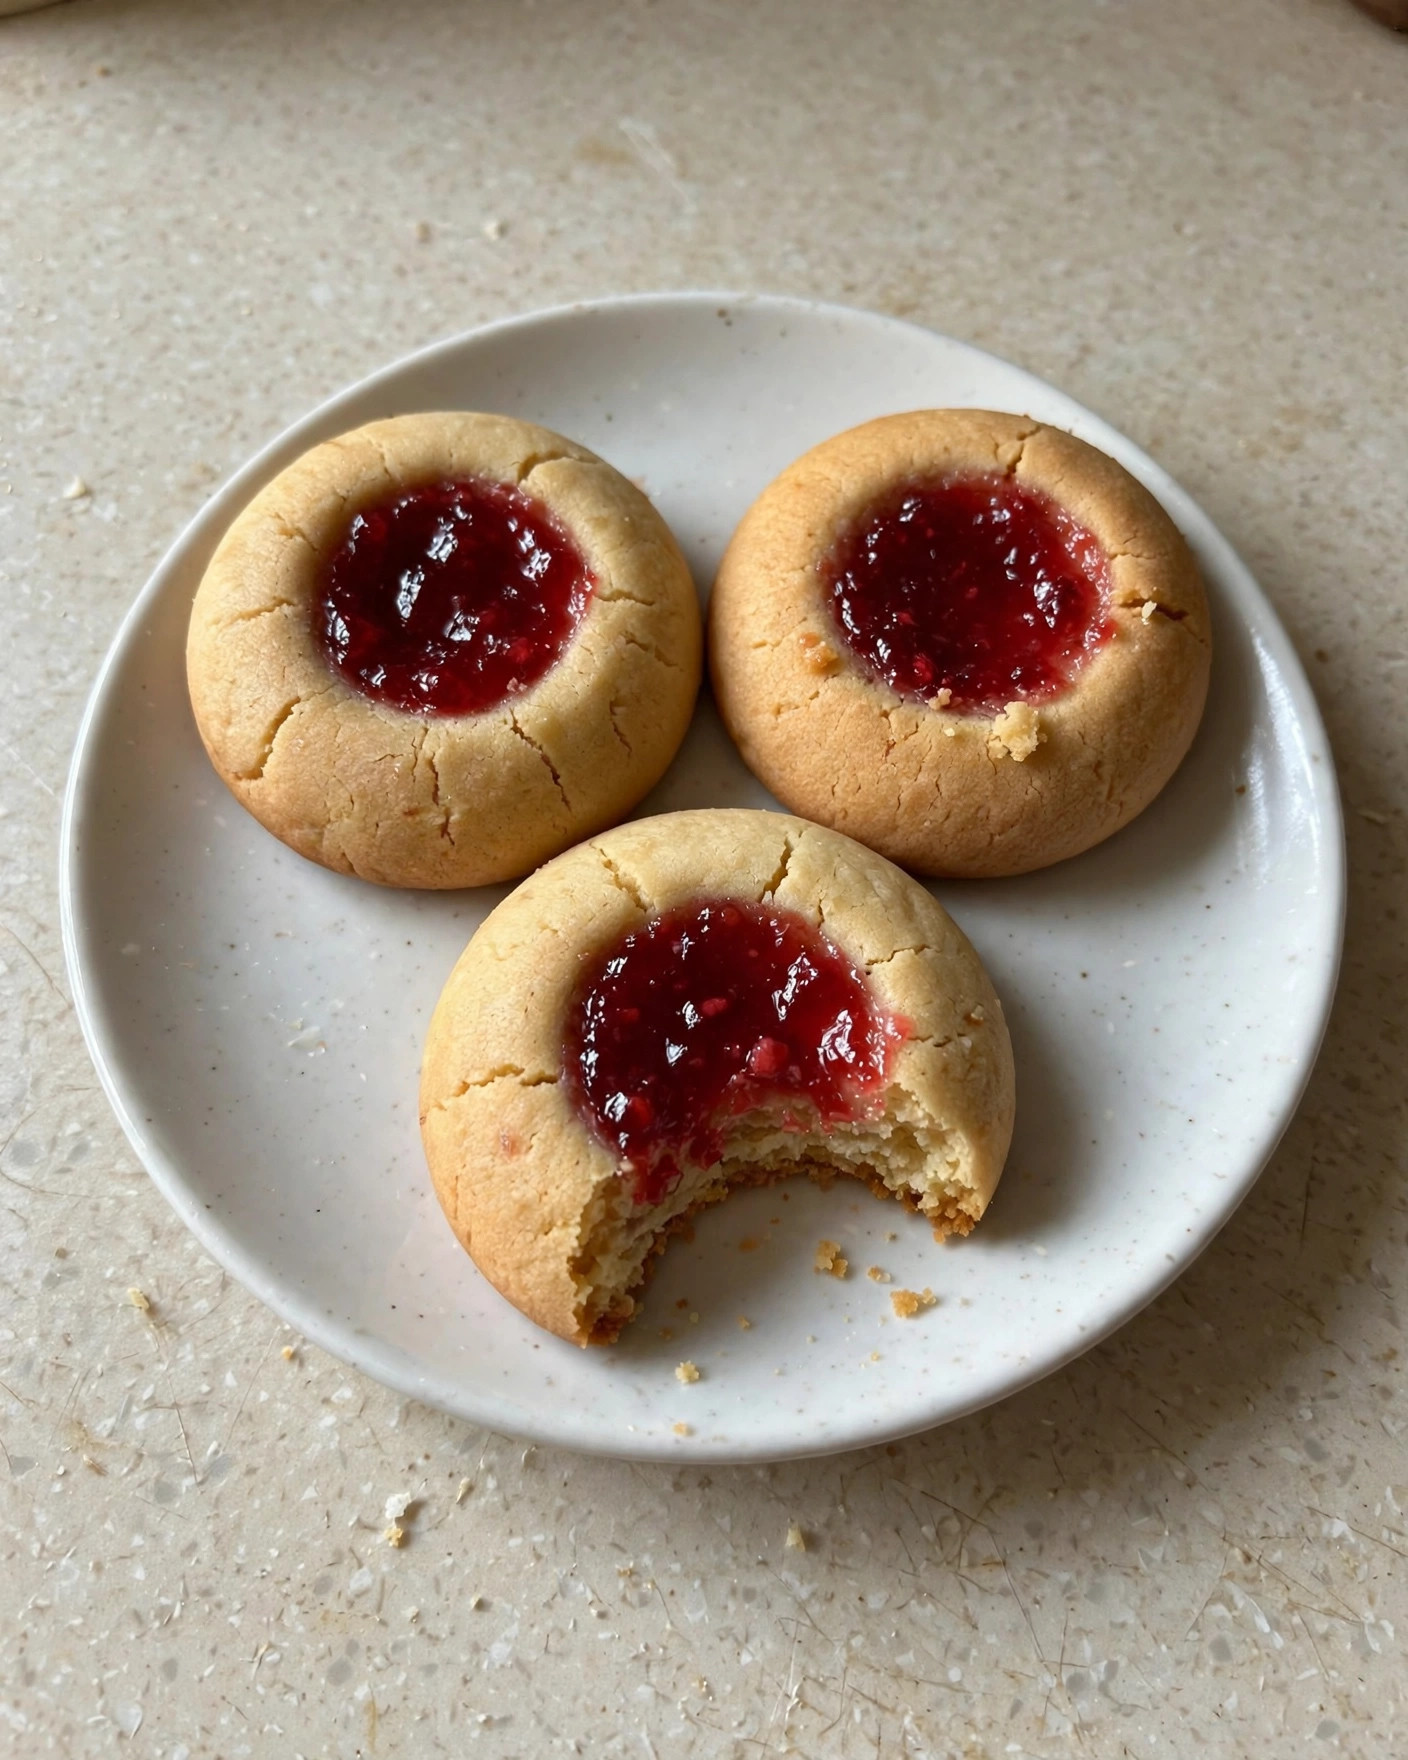
The cookie itself is pure butter and vanilla, tender and short, with the toasted walnuts giving it a nutty crunch all around the outside. In the middle sits a glossy spoonful of raspberry jam, baked just long enough to set it into a jewel. On a Christmas tray full of brown and tan cookies, these are the ones that sparkle.
Raspberry was Grandma’s filling because the seeds and the tartness stood up to the sweet cookie, but the tray usually held a few apricot and a few strawberry too, so everybody could claim a favorite. Whatever jam you choose, the rule stands: fill them generously, but not so generously they bubble over. A jewel, not a flood.
Why This Recipe Works
- Egg white and walnuts on the outside — dipping the dough balls in beaten egg white is the glue that holds the chopped walnuts on, so every cookie bakes up with an even, toasty crust.
- Pressed twice — before baking and halfway through — cookies puff as they bake and the wells rise; a gentle second press keeps a deep pocket that actually holds the jam.
- Jam added near the end of baking — the filling goes in for just the last few minutes, so it sets glossy and bright instead of bubbling away or turning dull.
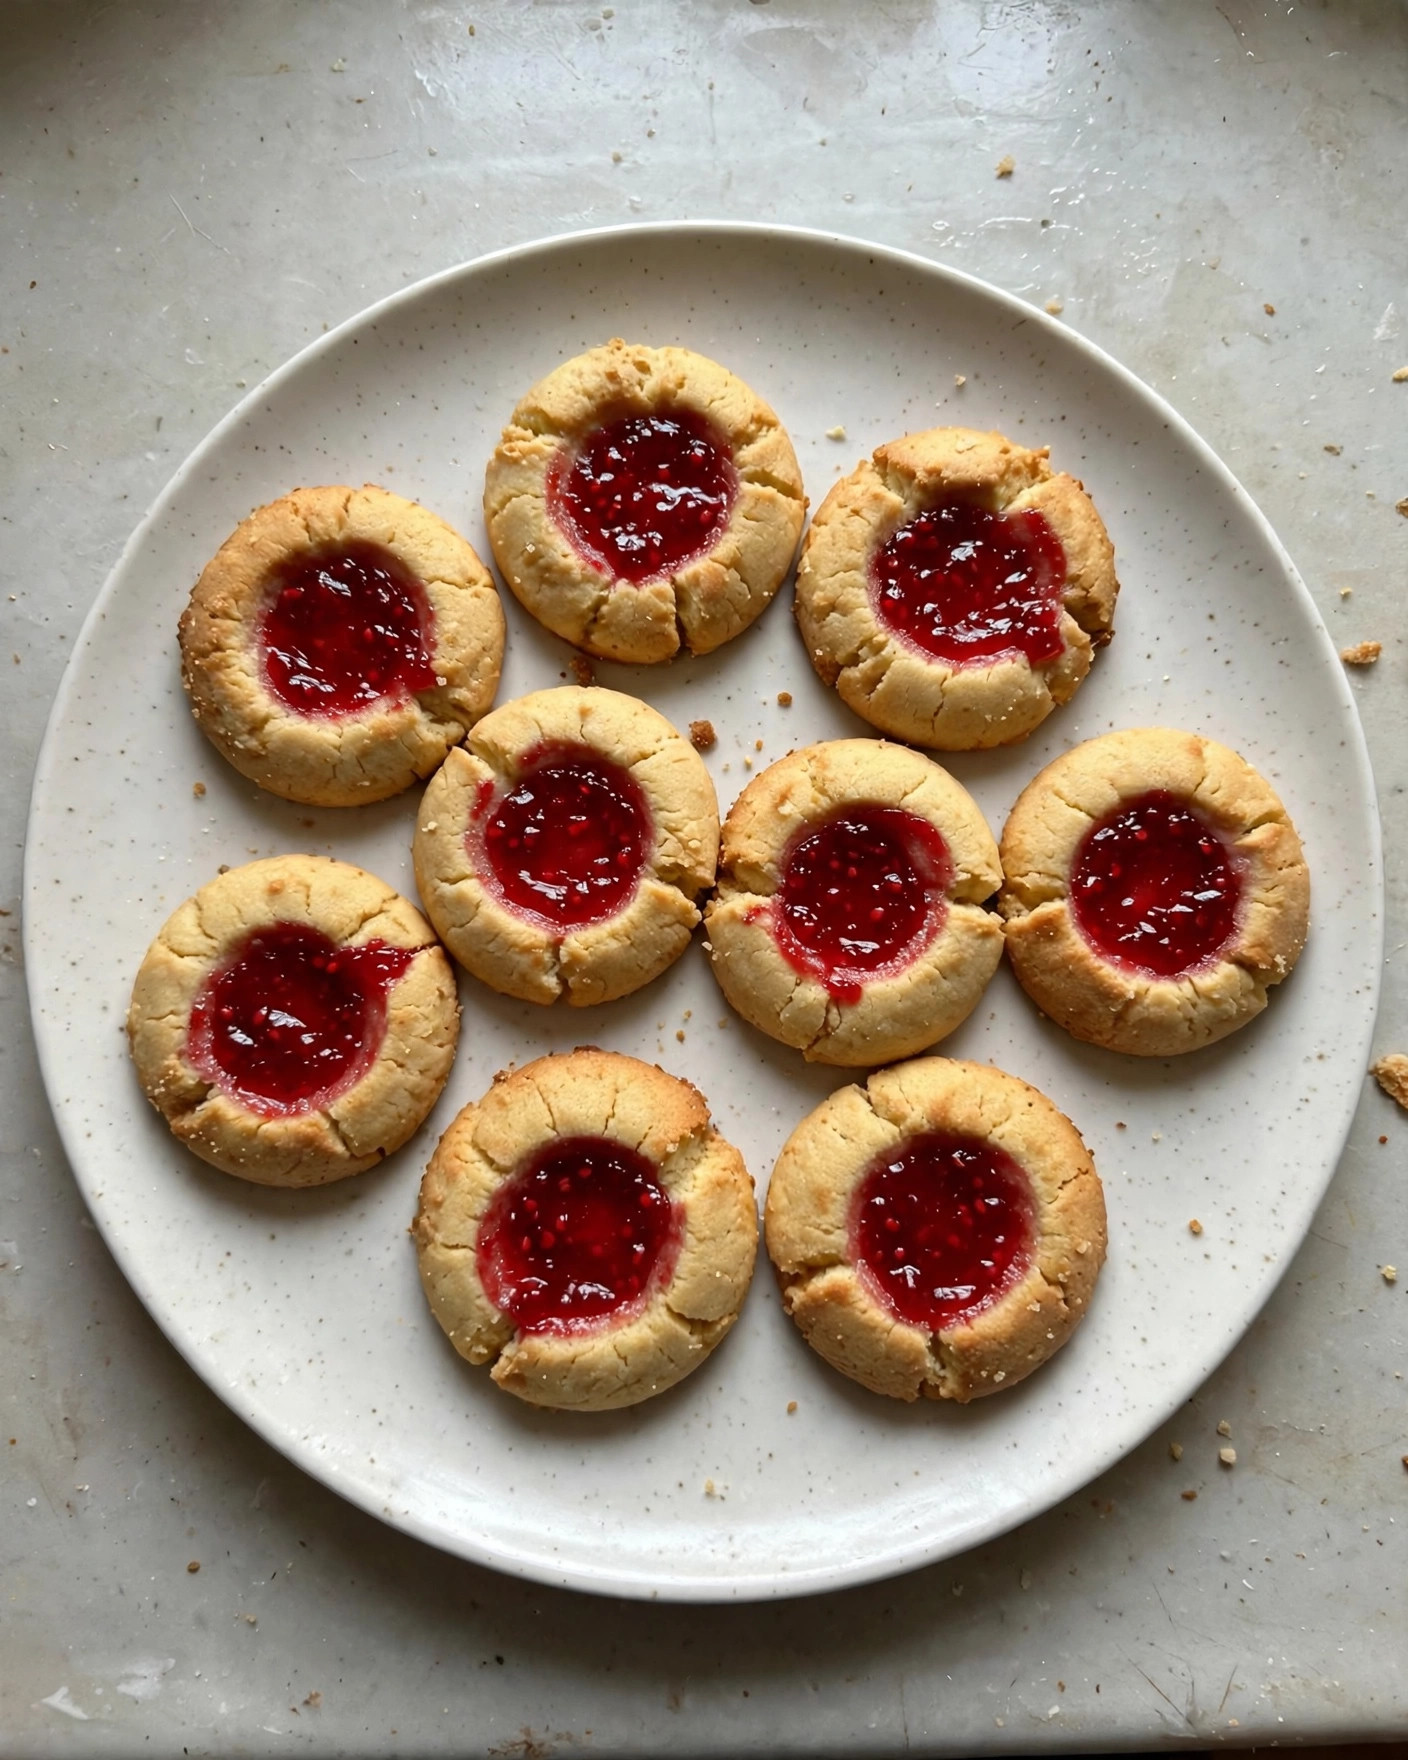
Jam Thumbprint Cookies
Ingredients
Method
- Heat the oven to 350°F (175°C). Line two baking sheets with parchment paper.
- In a large bowl, beat the softened butter and sugar with a mixer until light and fluffy, about 2 minutes. Beat in the egg yolk and vanilla until smooth. (Keep the egg white in a small bowl for step 4.)
- Stir in the flour and salt until a soft dough forms. In the small bowl, beat the egg white lightly with a fork until just frothy, and put the chopped walnuts in another shallow bowl.
- Roll the dough into 1-inch balls. Dip each ball in the egg white, then roll it in the chopped walnuts to coat. Place the balls 2 inches apart on the prepared sheets.
- Press your thumb (or the rounded back of a 1/2-teaspoon measure) firmly into the center of each ball to make a deep well.
- Bake 10 minutes. The wells will have puffed up a little — gently press them down again with the measure. Spoon about 1/2 teaspoon of jam into each well; don’t overfill.
- Bake 4–5 minutes more, until the cookies are set and the walnuts are lightly golden and the jam looks glossy. Let the cookies cool on the pan 5 minutes — the jam is very hot — then move them to a wire rack to cool completely.
Notes
Remember it later
Like this recipe! Pin it to your favorite board NOW!
Grandma’s Tips
- Chop the walnuts fine, but not to dust. You want small pieces that cling to the cookie and toast up crunchy. A few passes with a big knife is right; a food processor will take them to powder before you notice.
- The wine cork trick. If little thumbs aren’t available, the end of a wine cork or the back of a round measuring spoon makes a perfect, even well — and no cracked edges.
- Fix cracks as you go. If pressing the well splits the dough, just pinch the crack closed with your fingers before baking. The walnuts hide a multitude of repairs.
- Stir the jam smooth before filling. A quick stir in its jar loosens jam so it spoons neatly and bakes up shiny. Lumpy jam makes lumpy middles.
- Fill a test cookie first. Jam expands a little as it heats. If your test cookie bubbles over, use a scant half-teaspoon for the rest of the tray.
Frequently Asked Questions
Why did my thumbprint wells disappear while baking?
The cookies puffed and the centers rose — it happens to every batch. That is why the recipe presses them again at the 10-minute mark, before the jam goes in. Deep wells, pressed twice, hold their shape.
Why did the jam bubble over and run down the sides?
The wells were overfilled, or the jam was spooned in from the start and spent too long in the oven. Fill with a level 1/2 teaspoon and add it only for the last 4–5 minutes of baking.
Can I make these without nuts?
Yes. Skip the egg white and walnuts and roll the plain dough balls in granulated sugar instead — they come out like little butter cookies with jam hearts, and nobody complains.
What other jams work in thumbprint cookies?
Apricot, strawberry, blackberry and cherry are all lovely, and a mixed tray is the prettiest. Choose a jam you would happily eat with a spoon, and stir it smooth before filling.
Can I make the dough ahead of time?
Yes. Cover and refrigerate up to 2 days, or roll the balls (before coating) and freeze them up to 3 months. Let chilled dough sit out about 15 minutes so the balls roll and press without cracking.