Grandma’s fudge was an event, and everybody in the house knew their part. One person buttered the pan. One person stood ready with the wooden spoon. And nobody — nobody — was allowed to bump the stove while the pot was coming up to temperature, because old-fashioned cooked fudge rewards patience and punishes fussing, and Grandma had made enough grainy batches in her young years to know the difference.
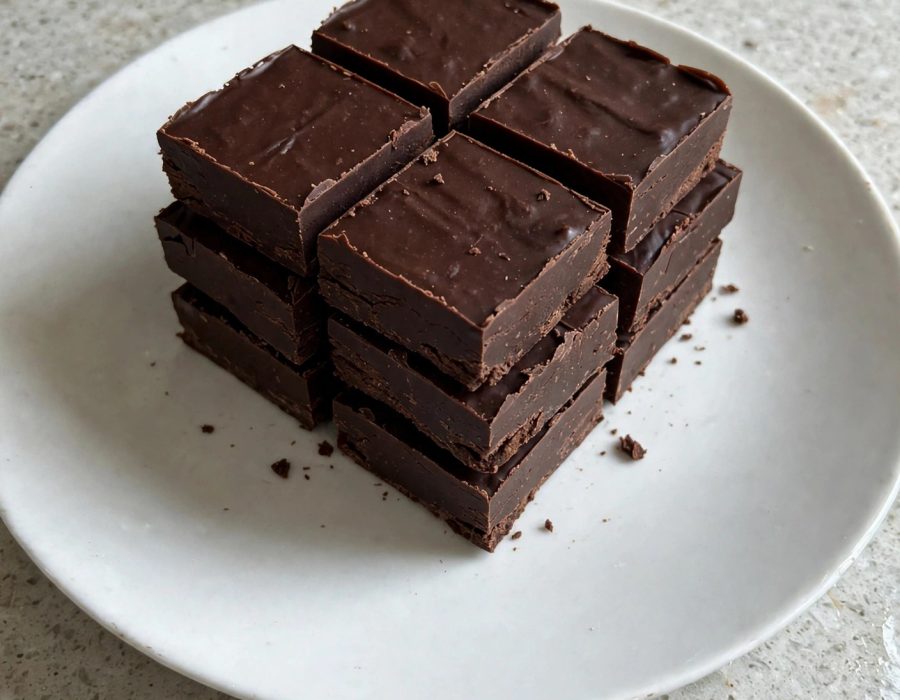
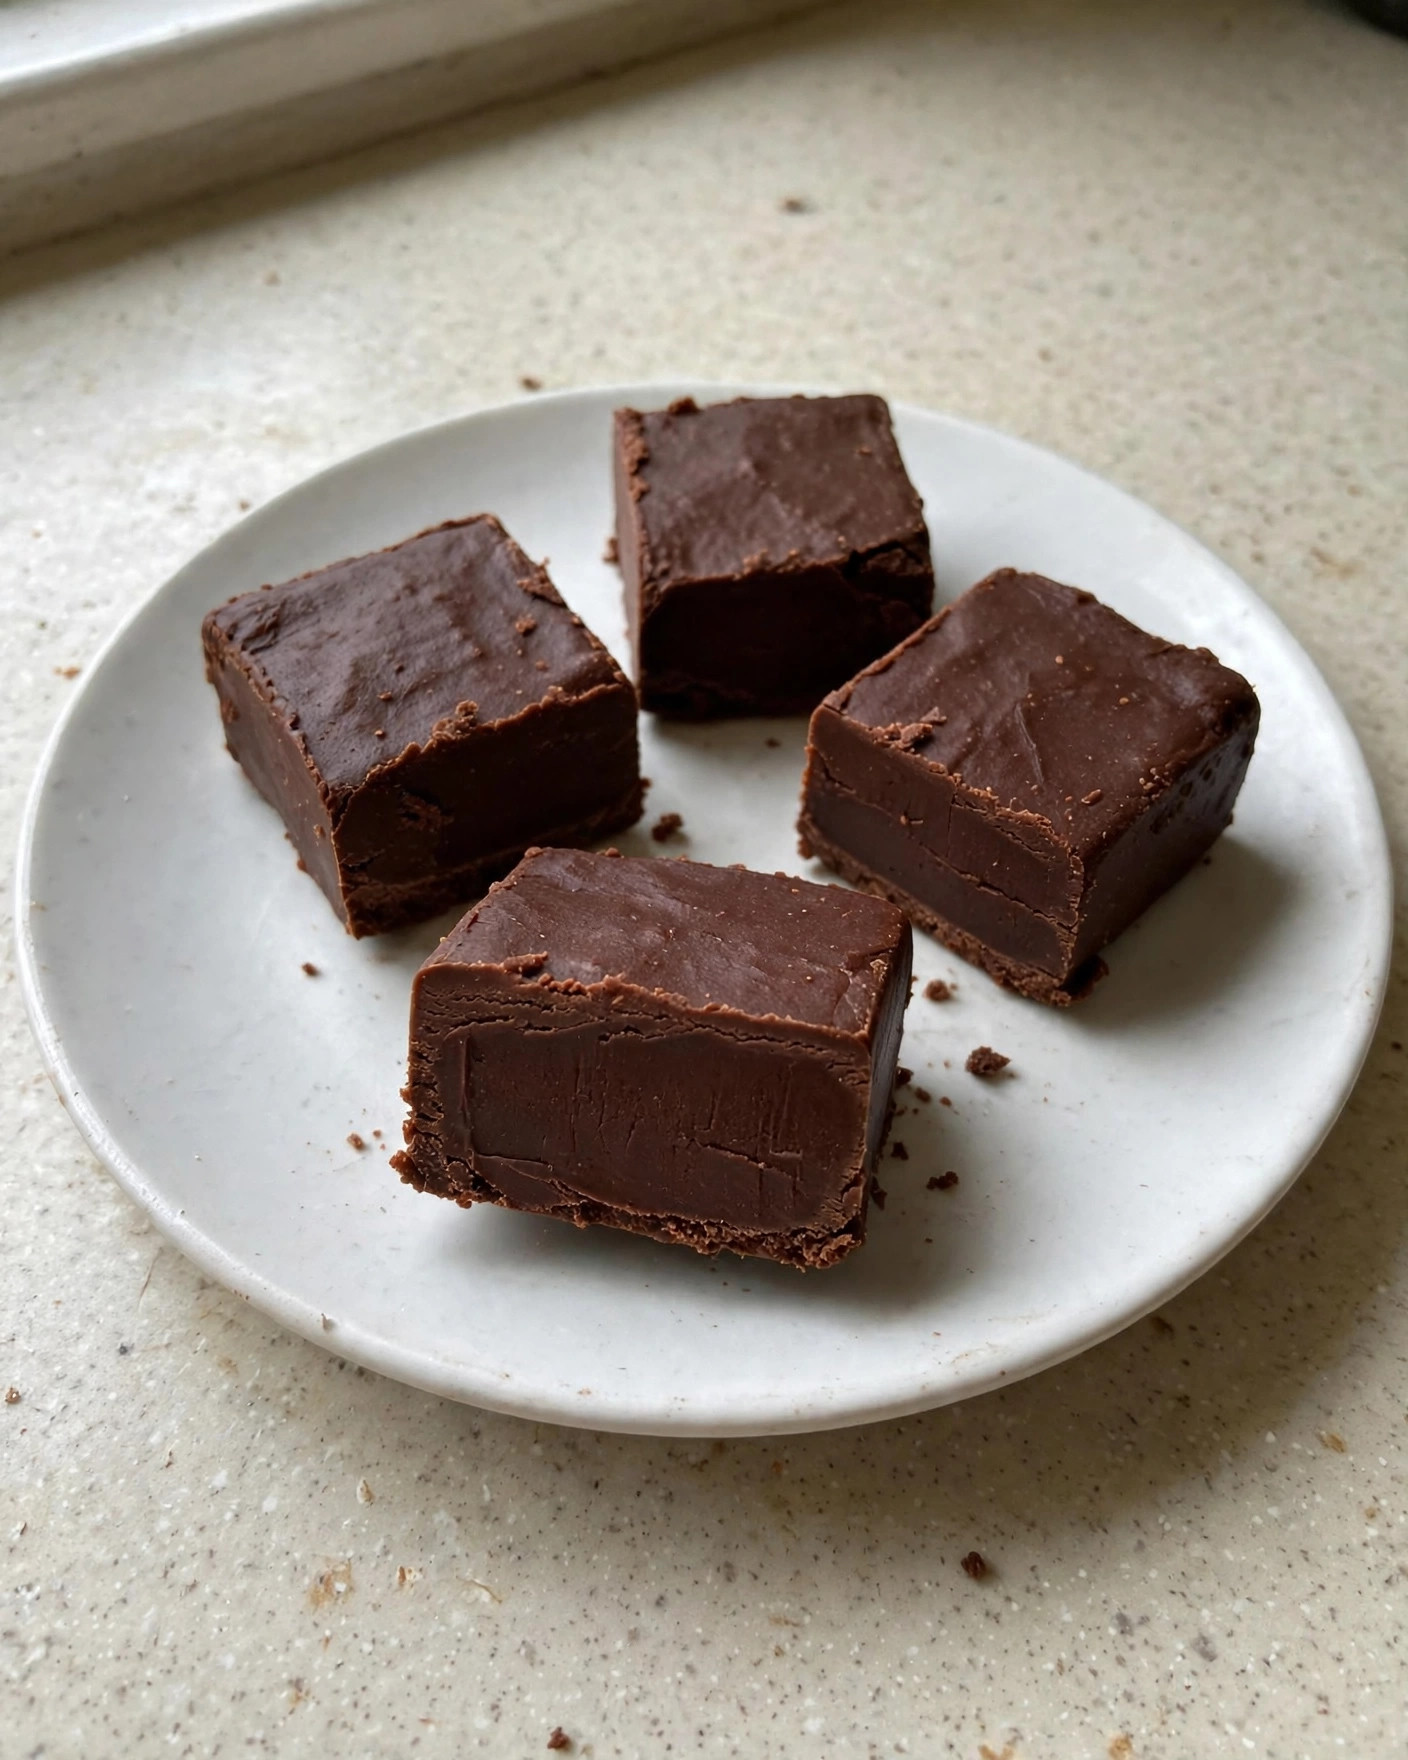
This is the real cocoa fudge, the kind that predates marshmallow creme and sweetened condensed milk shortcuts. Sugar, cocoa, milk and butter, cooked to the soft-ball stage, cooled without a single stir, then beaten with a spoon until the shine goes dull and it suddenly turns to candy in the pot. When you get it right, it is dense, smooth and deeply chocolate, with a texture no shortcut batch has ever matched.
It asks for about an hour of your afternoon and one good thermometer, and it gives you back a pan of Christmas candy like the kind that used to come in waxed paper from the church bazaar. Grandma cut hers in small squares because it is rich — and because a small square is an invitation to come back for a second one.
Why This Recipe Works
- Cooked to exactly 234°F — the soft-ball stage concentrates the sugar to the one point where the fudge sets firm but stays creamy instead of hard or runny.
- Cooled undisturbed to 110°F before beating — letting the syrup cool without stirring keeps large sugar crystals from forming, which is the whole secret to smooth, non-grainy fudge.
- Beaten until it loses its gloss — stirring at the right moment starts fine crystallization all at once, and the fudge turns thick, matte and ready to pour.
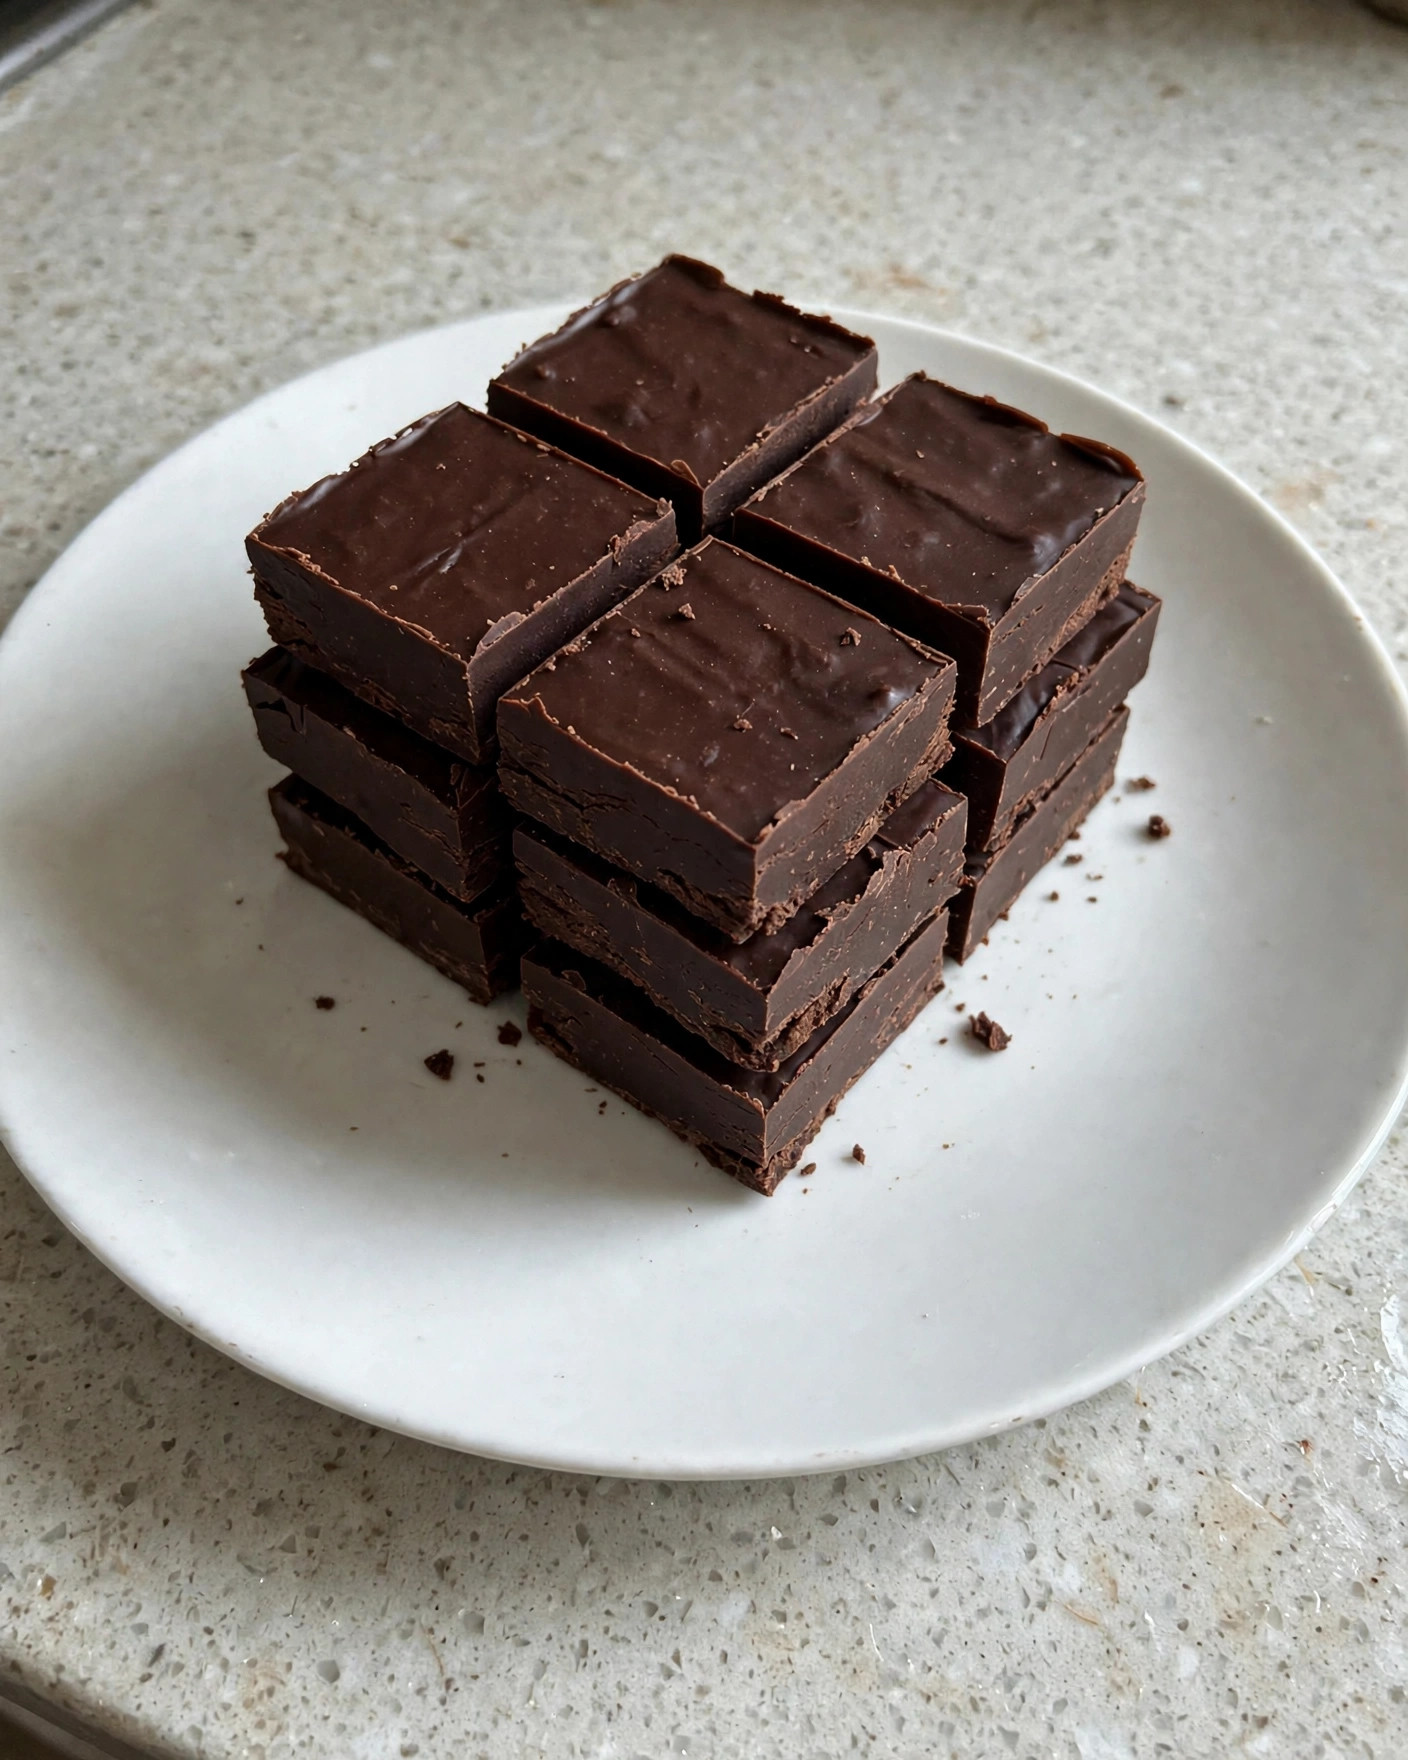
Grandma’s Chocolate Fudge
Ingredients
Method
- Butter an 8×8-inch pan well and set it aside. Have the butter and vanilla measured and waiting by the stove — once the fudge is ready to beat, there is no time to go looking.
- In a heavy 3-quart saucepan (the mixture will bubble up), whisk together the sugar, cocoa and salt until no cocoa lumps remain. Stir in the milk until smooth.
- Cook over medium heat, stirring constantly, until the mixture comes to a full boil. Then stop stirring, clip on a candy thermometer, and let it boil gently, undisturbed, until it reaches 234°F (soft-ball stage), about 15–20 minutes.
- Take the pan off the heat. Drop in the butter and vanilla — do not stir them in. Let the fudge cool undisturbed until the thermometer reads 110°F, about 30 minutes. Walk away; stirring now is how fudge turns grainy.
- Beat the fudge with a sturdy wooden spoon until it thickens, loses its glossy shine and starts to hold its shape, about 5–10 minutes of steady beating. It will go from shiny and pourable to dull and heavy — that change is the sign to move fast.
- Quickly scrape the fudge into the buttered pan and spread it to the corners before it sets. Let it stand at room temperature about 2 hours, until firm.
- Cut into 36 small squares (6 by 6) with a sharp knife, wiping the blade between cuts for clean edges.
Notes
Remember it later
Like this recipe! Pin it to your favorite board NOW!
Grandma’s Tips
- A dry day makes better fudge. Humidity is the old enemy of candy making — on a rainy day the fudge can refuse to set properly. Grandma watched the weather before she watched the pot.
- Trust the thermometer, but know the cold-water test too. A drop of syrup in cold water should form a soft ball that flattens between your fingers. If your thermometer disagrees with the test, believe the test and check the thermometer in boiling water (it should read 212°F).
- Once it boils, hands off. Stirring a boiling fudge syrup splashes crystals onto the sides of the pan, and those crystals seed graininess all through the batch. Stir before the boil, never during.
- Beat like you mean it, then stop. Underbeaten fudge stays glossy and soupy; overbeaten fudge sets in the pot before you can pour it. The moment it turns matte and heavy on the spoon, get it into the pan.
- Grease the knife, not just the pan. A light swipe of butter on the blade before each row keeps the cuts clean instead of dragging through this dense, creamy candy.
Frequently Asked Questions
Why did my fudge turn out grainy?
Almost always, the syrup was stirred while it was cooling, or sugar crystals from the pan sides fell back in. Cool it completely undisturbed to 110°F, and don’t scrape the sides of the saucepan when you pour.
My fudge never set — what went wrong?
It didn’t quite reach 234°F. Even a few degrees under soft-ball leaves too much water in the syrup. You can rescue a soft batch by returning it to the pan with a splash of milk and cooking it again to temperature.
Why is my fudge hard and crumbly?
It cooked a little too far past 234°F, or it was beaten too long before pouring. Next time pull it right at temperature and beat only until the gloss just disappears.
Can I make fudge without a candy thermometer?
Yes — Grandma did for years. Use the cold-water test: drop a little syrup into a cup of cold water; it is ready when it forms a soft ball that holds together but flattens when you pick it up. A thermometer is simply more forgiving for a first batch.
Can I add nuts to this fudge?
Certainly — stir in 1 cup of chopped walnuts or pecans right at the end of beating, just before pouring. Grandma made one pan plain and one with walnuts, and the walnut pan always emptied first at the bazaar table.